Configuring the input
Switches and buttons connected to multiplexers are typically mapped to simulator variables that expect either 0 (for off) or 1 (for on). The following steps demonstrate how to configure a two-position switch connected to a multiplexer to control the parking brake in a Cessna 172 in Microsoft Flight Simulator 2020 and Microsoft Flight Simulator 2024.
Tip
The steps for using a switch or button in an X-Plane project are similar. Use the X-Plane (All versions) type when configuring the Action type.
Add a new input config
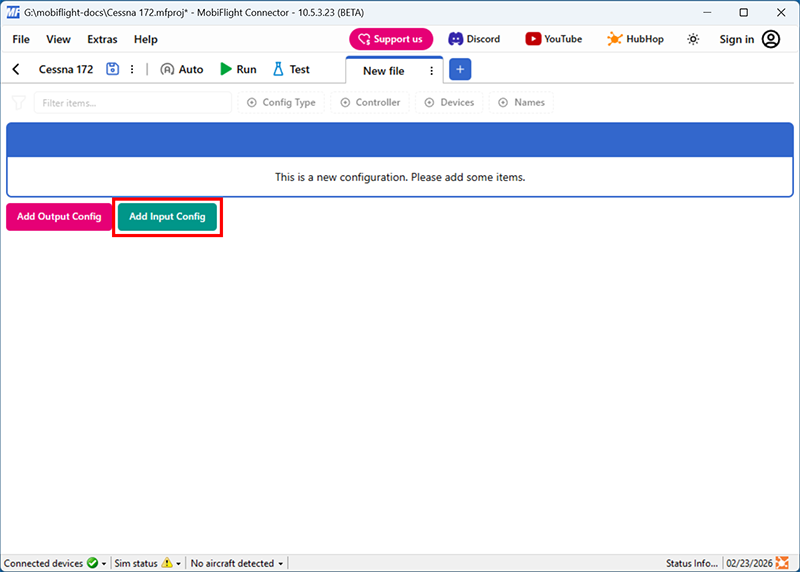
Click the Add Input Config button in the main MobiFlight window to open the input configuration dialog.
Name the config
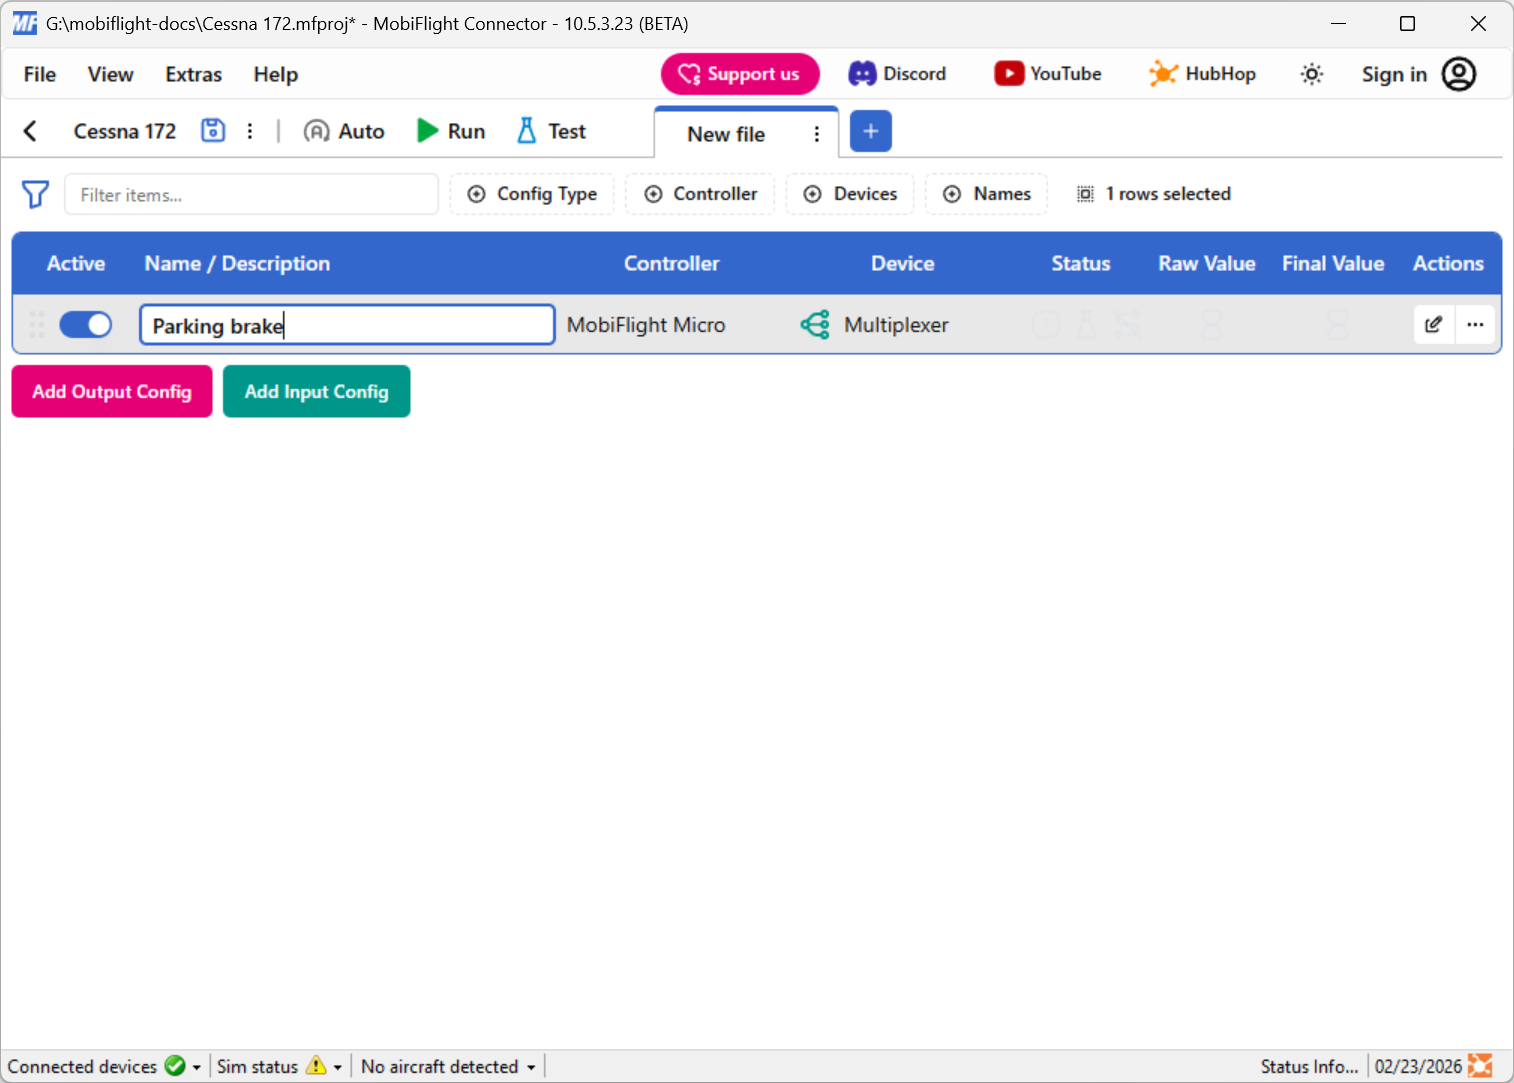
Type in a meaningful name for the new config in the header of the dialog, for example Parking brake, and press enter to apply the change.
Select the board and device for the input
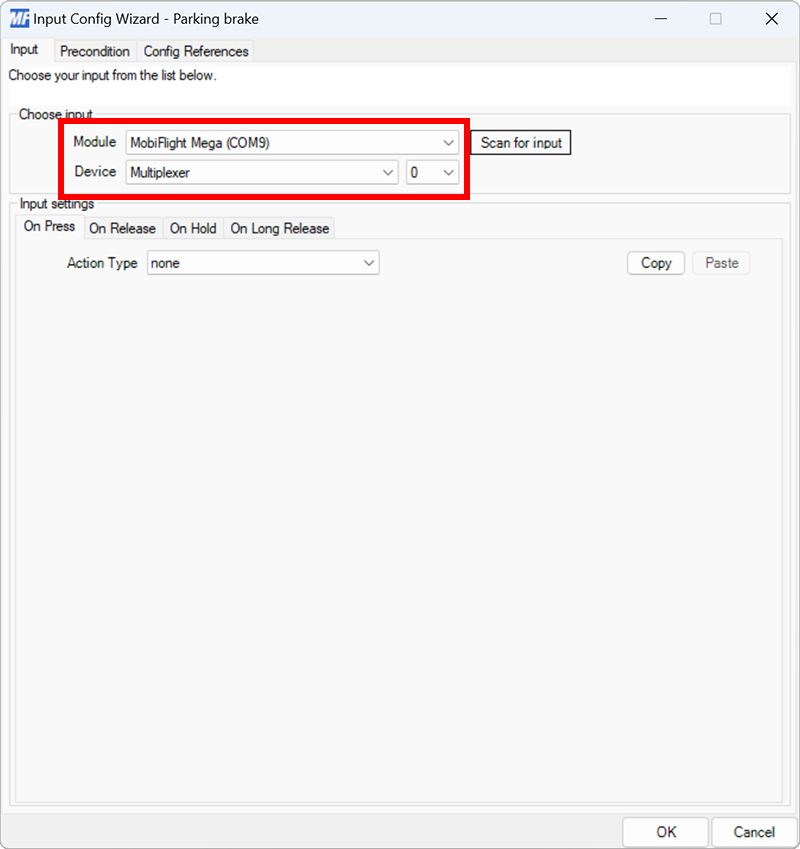
In the Trigger section, use the Select controller… and Select device… dropdowns to select your connected board and multiplexer pin with the connected switch. Each multiplexer pin appears as a separate entry in the dropdown, with the pin number separated from the multiplexer name by a :.
Alternatively, press the Scan for input button and toggle the switch to automatically detect and select the correct switch.
Set the On Press action type
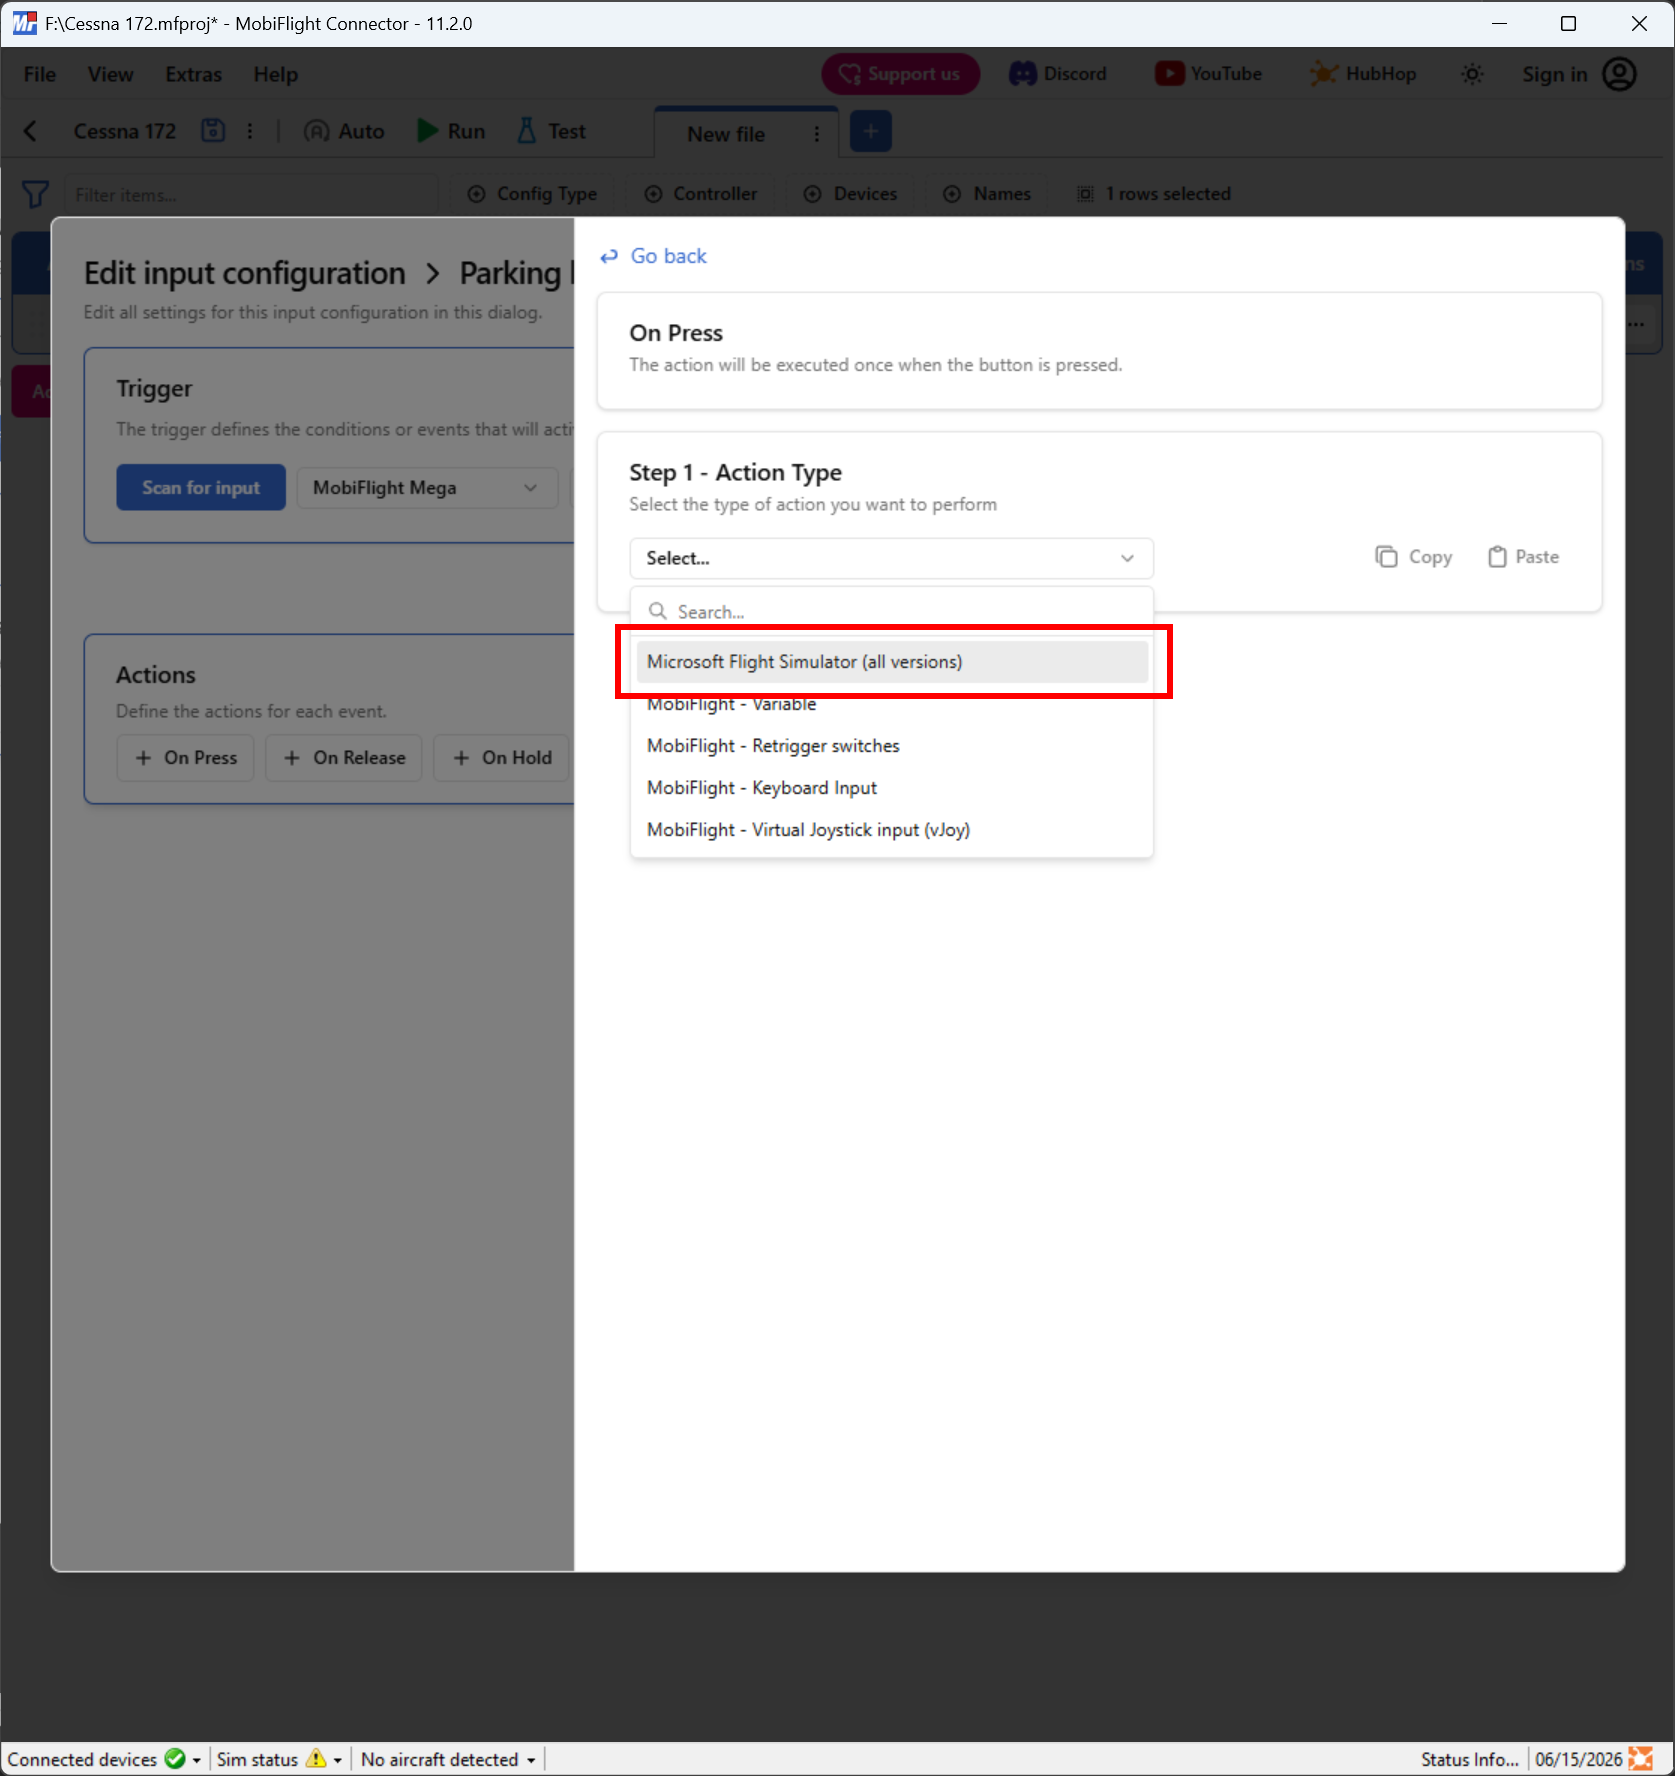
In the Actions section, select the On Press button. Use the Action Type dropdown to select Microsoft Flight Simulator (all versions).
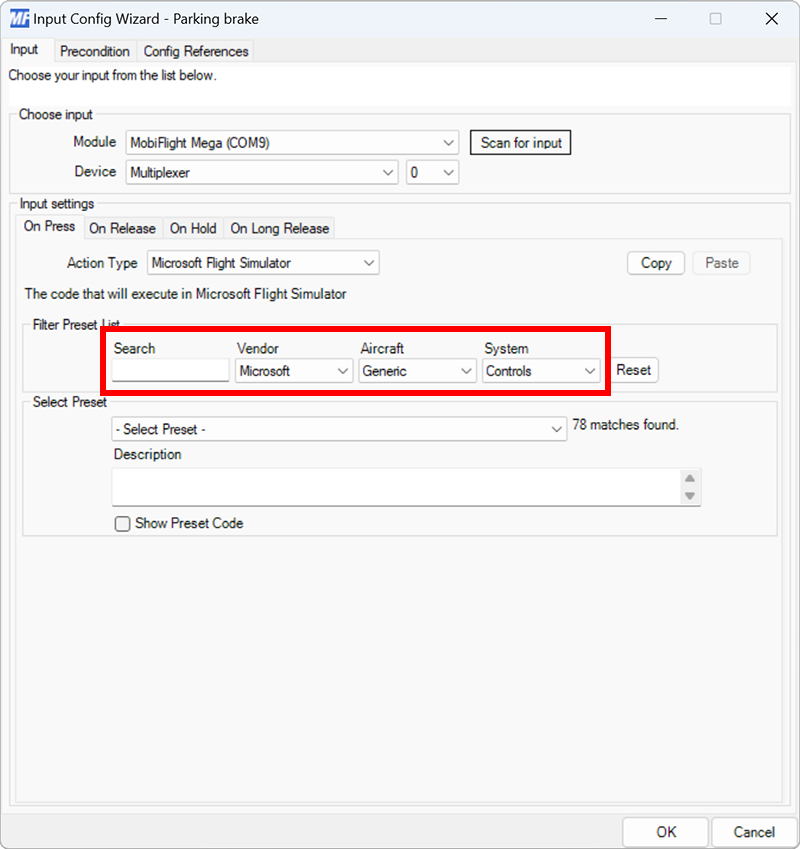
Filter the presets list
Use the Select preset dropdowns to filter by Microsoft, Generic, and Controls.
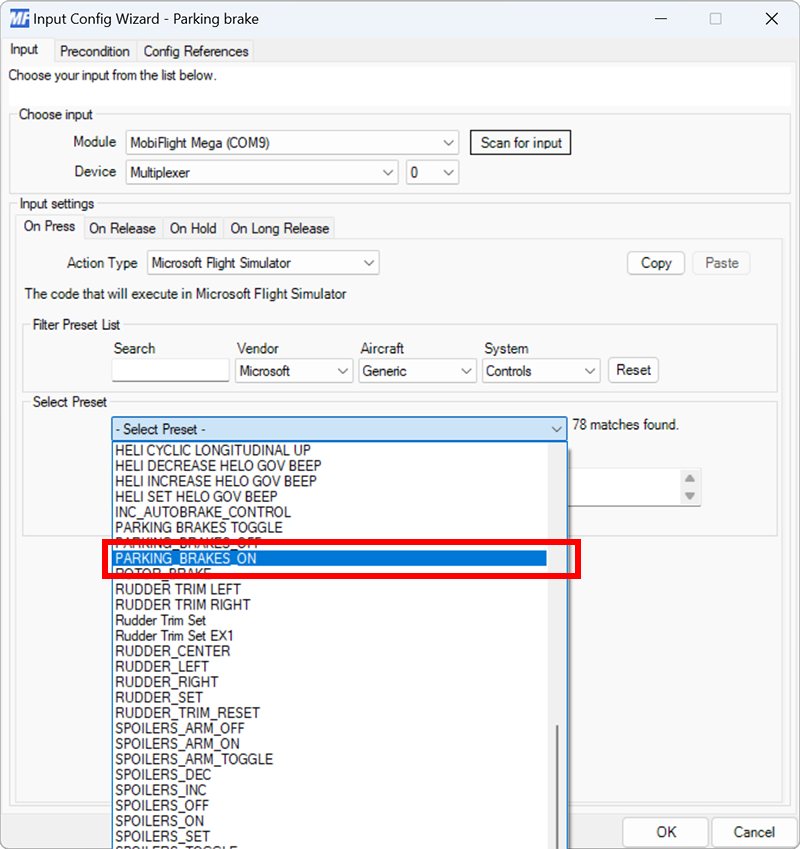
Select the PARKING_BRAKES_ON preset
Use the preset list to select the PARKING_BRAKES_ON preset, then click Go back.
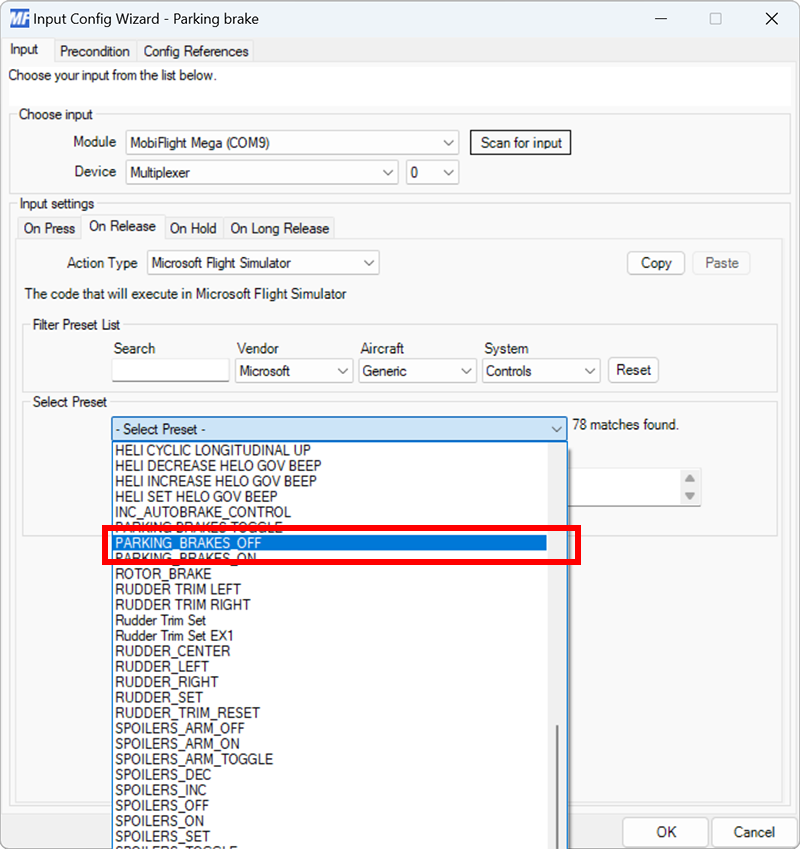
Configure the On Release action
Repeat steps 4 through 6 for the On Release action, selecting PARKING_BRAKES_OFF for the preset.
Close the dialog and try out the event
Click the Apply changes button to close the dialog.
Launch Microsoft Flight Simulator. Make sure the MobiFlight Run button is clicked in the toolbar, then try setting the parking brake with the switch. The parking brake in the simulator should set when the switch is in the on position, and release when the switch is in the off position.
Tip
Even though these steps are for a Cessna 172, the same parking brake input events should work for most planes in Microsoft Flight Simulator.